items - £0.00
TeacherTalk Blog | 5 Top Tips for Classroom Decor
19 July 2021 07:00:00 BST

5 Top tips from an experienced teacher on classroom decor
“I loved teaching for many years and my classroom would certainly reflect this - bold colours, crazy artwork, posters and plenty of space to showcase my students work....but it never came without hours of careful planning and a whole lot of mess (sound familiar?!). Here's a resume and a few secrets of what I learnt in my many years of children, crafts and crepe paper!”
Tip #1: Maximise your project / theme
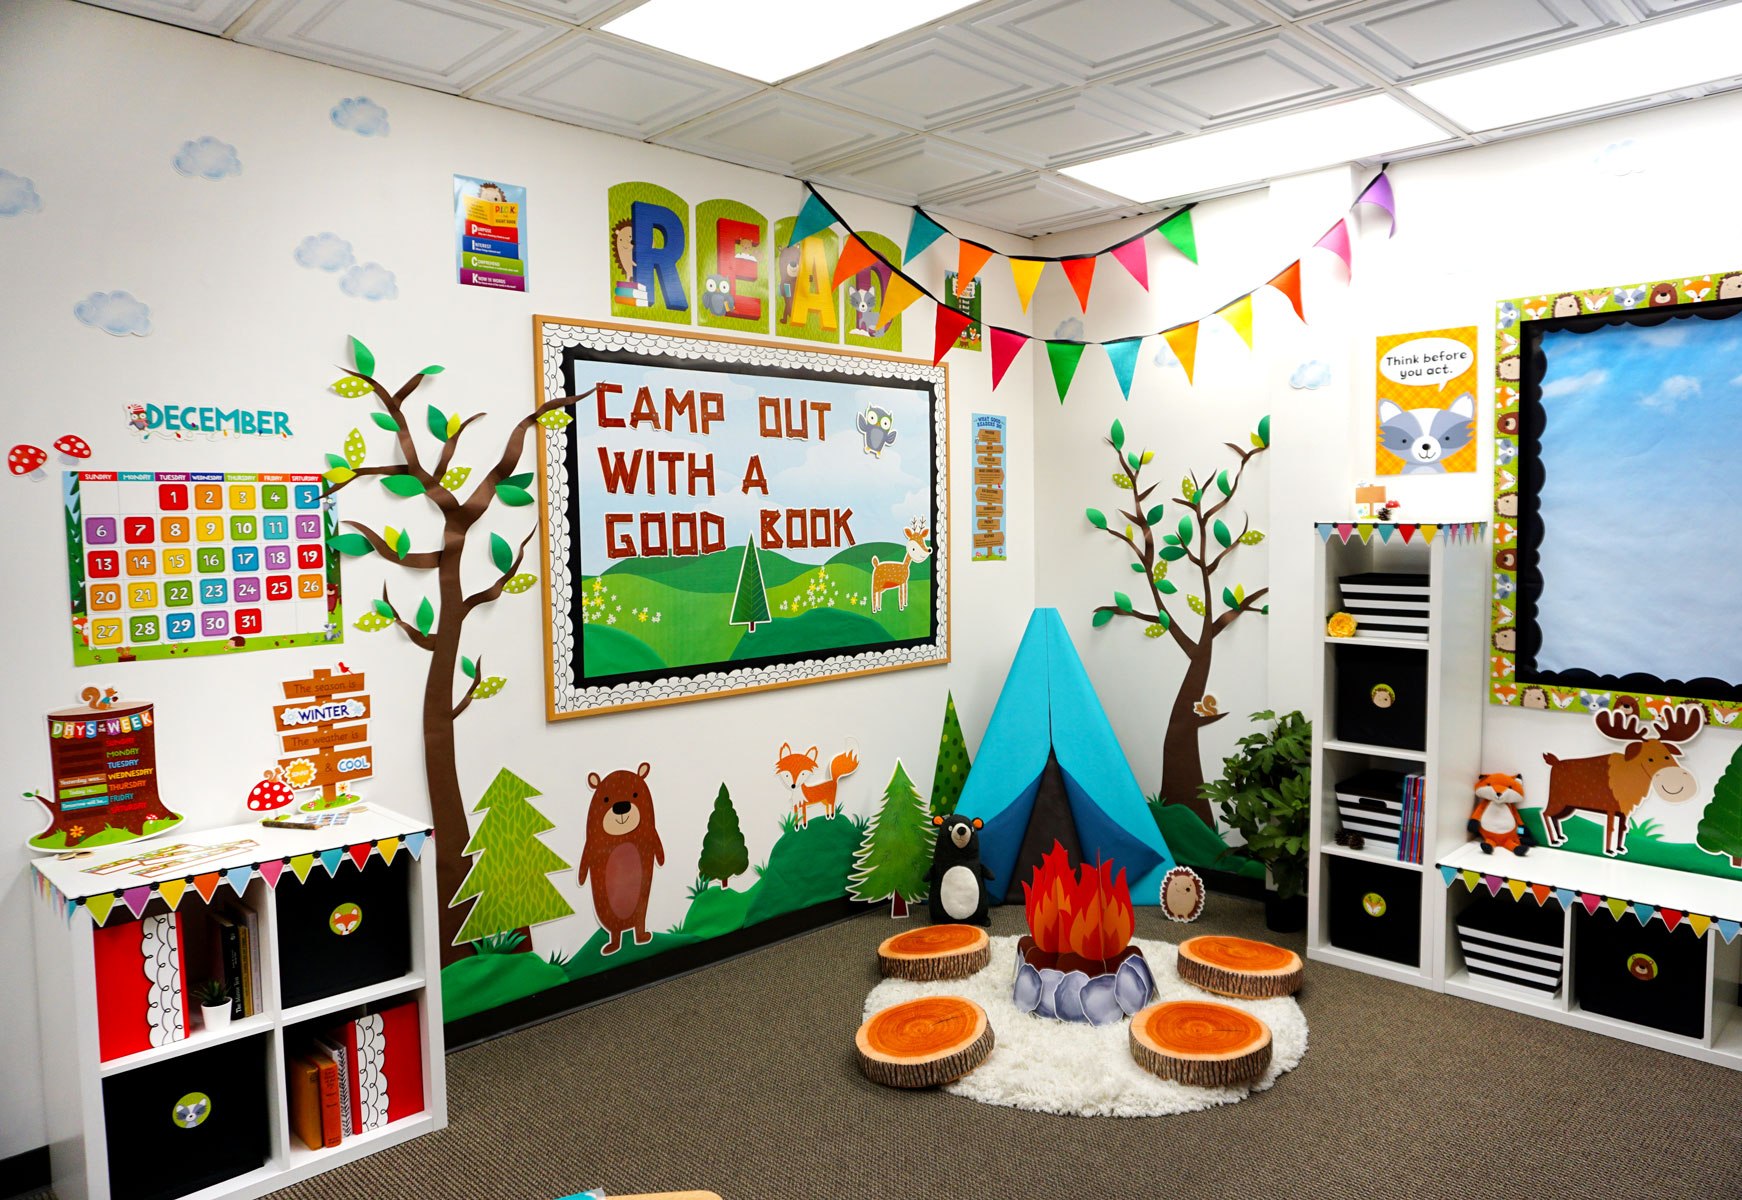
Every great design is inspire by an underlying theme – usually your topic for that term - and as much as you can in your classroom should reflect that.
Studying the space this term ? Consider star/planet borders, solar system posters and space related cut outs / accent cards. And, how about co-ordinating your reward system too with mini space stickers for your reward charts and if you have a treasure chest of rewards for effort you can get space themed mini notepads, pencils erasers etc at great prices – especially if bought in class size quantities.
Whatever your topic, you’ll find a myriad of resources to support your teaching and to make your classroom totally co-ordinated.
Top Tip: Not sure your layout works? Then take a photo on your phone. Staring at the same thing for too long you are certain to see every little detail. By taking a step back and taking a photograph you are sure to only see what others will see when they first arrive
Tip #2: Be bold with your backgrounds
Be brave with bright colours as a backdrop to displaying your class work – plain colours are usually best as patterns can detract from the stars of the show but try it, it may work! Bold colours can add a splash of colour and excitement to every grey day.
Bored of paper? Why not use material? You can usually still use a stapler to attach it. You can often pick up large rolls of cloth from stores at a fraction of the cost which will be sure to provide a great contrast against any artwork to really make it POP!
Top Tip: When using A3 coloured paper, be sure to find paper that is fade resistant-especially if located in direct sunlight (and don’t forget to overlap to hide the staples)
Tip #3: Big up on the border
Children have such great imaginations and will interpret instructions very differently. Obviously this is an attribute to embrace however it can make creating a uniformed display with 30 wildly different designs a challenge – this is where borders in combination with your bold backing come in.
Choose to either add a border to your whole display board or if you have the time or inclination, using a border to frame each piece of work adds real wow factor and is a great way to really pull designs together without taking away from a pupil’s individuality.
Top Tip: if your pieces to frame are wild and wacky, then a plain border is best and vice versa.
There’s countless to choose from, why not check out some of our favourites https://www.classroomcapers.co.uk/catalogsearch/result/?cat=0&q=borders
Tip #4: Cover your back!
Always add a backing layer to intricate work – it takes a bit more time but helps preserve the work when you try to take it down. Your student’s will be so proud of their work and to see it fall apart when removed from display is heart-breaking for them.
Not only does backing preserve the work it also makes repositioning easier later on and it will bring designs to life.
Top Tip: Don’t forget to write your pupil’s names on the back of the backing paper because you won’t remember and it will be hidden on the back of the original work. Also, don’t be tempted to use too much glue, especially if using PVA, as it will cause wrinkles.
Tip #5: You’re never too old...
We all know that bright colours and vibrant images provide stimulus for the brain so why is it that when it comes to our older students we simply don’t bother? Isn’t this is the age that needs inspiration (to be kept awake!) and imagination? In a world of student deadlines, essays and pages of written text, why not brighten their world with some colourful displays?


