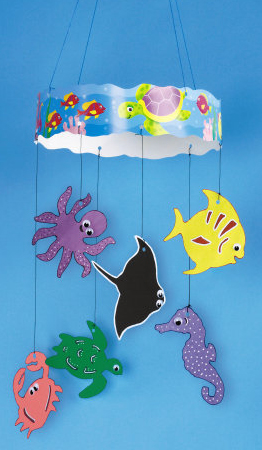
Spring Trimmer & Border Mobiles
21 April 2010 13:11:26 BST
Create fun mobiles that reinforce learning and decorate classrooms.
Materials Needed
- Ladybugs Borders
- Coloured paper
- Scissors
- String
- Crayons, coloured pencils or felt tip pens
- Hole punch
- Ruler
Directions:
- Tape the ends of the border strip together to create a circle. Before taping you can laminate the strip for added durability.
- Punch 4 holes 2cm from the top of the border at 12, 3, 6, and 9 o’clock positions.
- Cut two strings of string exactly the same length, 60-80 cm long.
- Tie the ends of one piece of sting at the 12 and 6 o’clock positions.
- Tie the other string at the 3 and 9 o’clock positions. Loop the second string around the first at least once to provide a hanger for the mobile.
- Ask children to draw a picture of a spring bug such as a ladybug, spider, butterfly etc using the coloured paper. Cut the shape out and punch a hole in the drawing where it will hang.
Punch holes in the border ring about 2cm from the bottom to accommodate the number of shapes you will hang.
- Cut the same number strings which will hold the drawings. Cut them in varying lengths.
Tie one end of each string to a cut-out. Tie the other end of each string to one of the holes in the border.
- Safely hang the mobile in an open area where it can move with the air currents.
